Losing your precious photos, videos, and all those important messages on your iPhone can feel like a real punch to the gut. It’s a feeling nobody wants to experience, and thankfully, you don't have to. Having a secure copy of your device's contents is always a smart move, as it lets you get back on your feet quickly from any little bumps or big problems you might run into over the life of your phone. So, today, we're going to talk about a very reliable way to protect your digital life: learning how to backup iPhone to iTunes, or Finder if you have a newer Mac.
You know, your iPhone holds so much of your personal story, from everyday snaps to significant life moments, and even crucial documents. While iCloud offers a pretty handy wireless backup option, putting your iPhone's contents onto a computer using iTunes (or Finder on more current Mac computers) gives you a really strong and secure way to keep everything safe. This method, you see, often results in a more complete and quicker way to get your data back compared to just using iCloud.
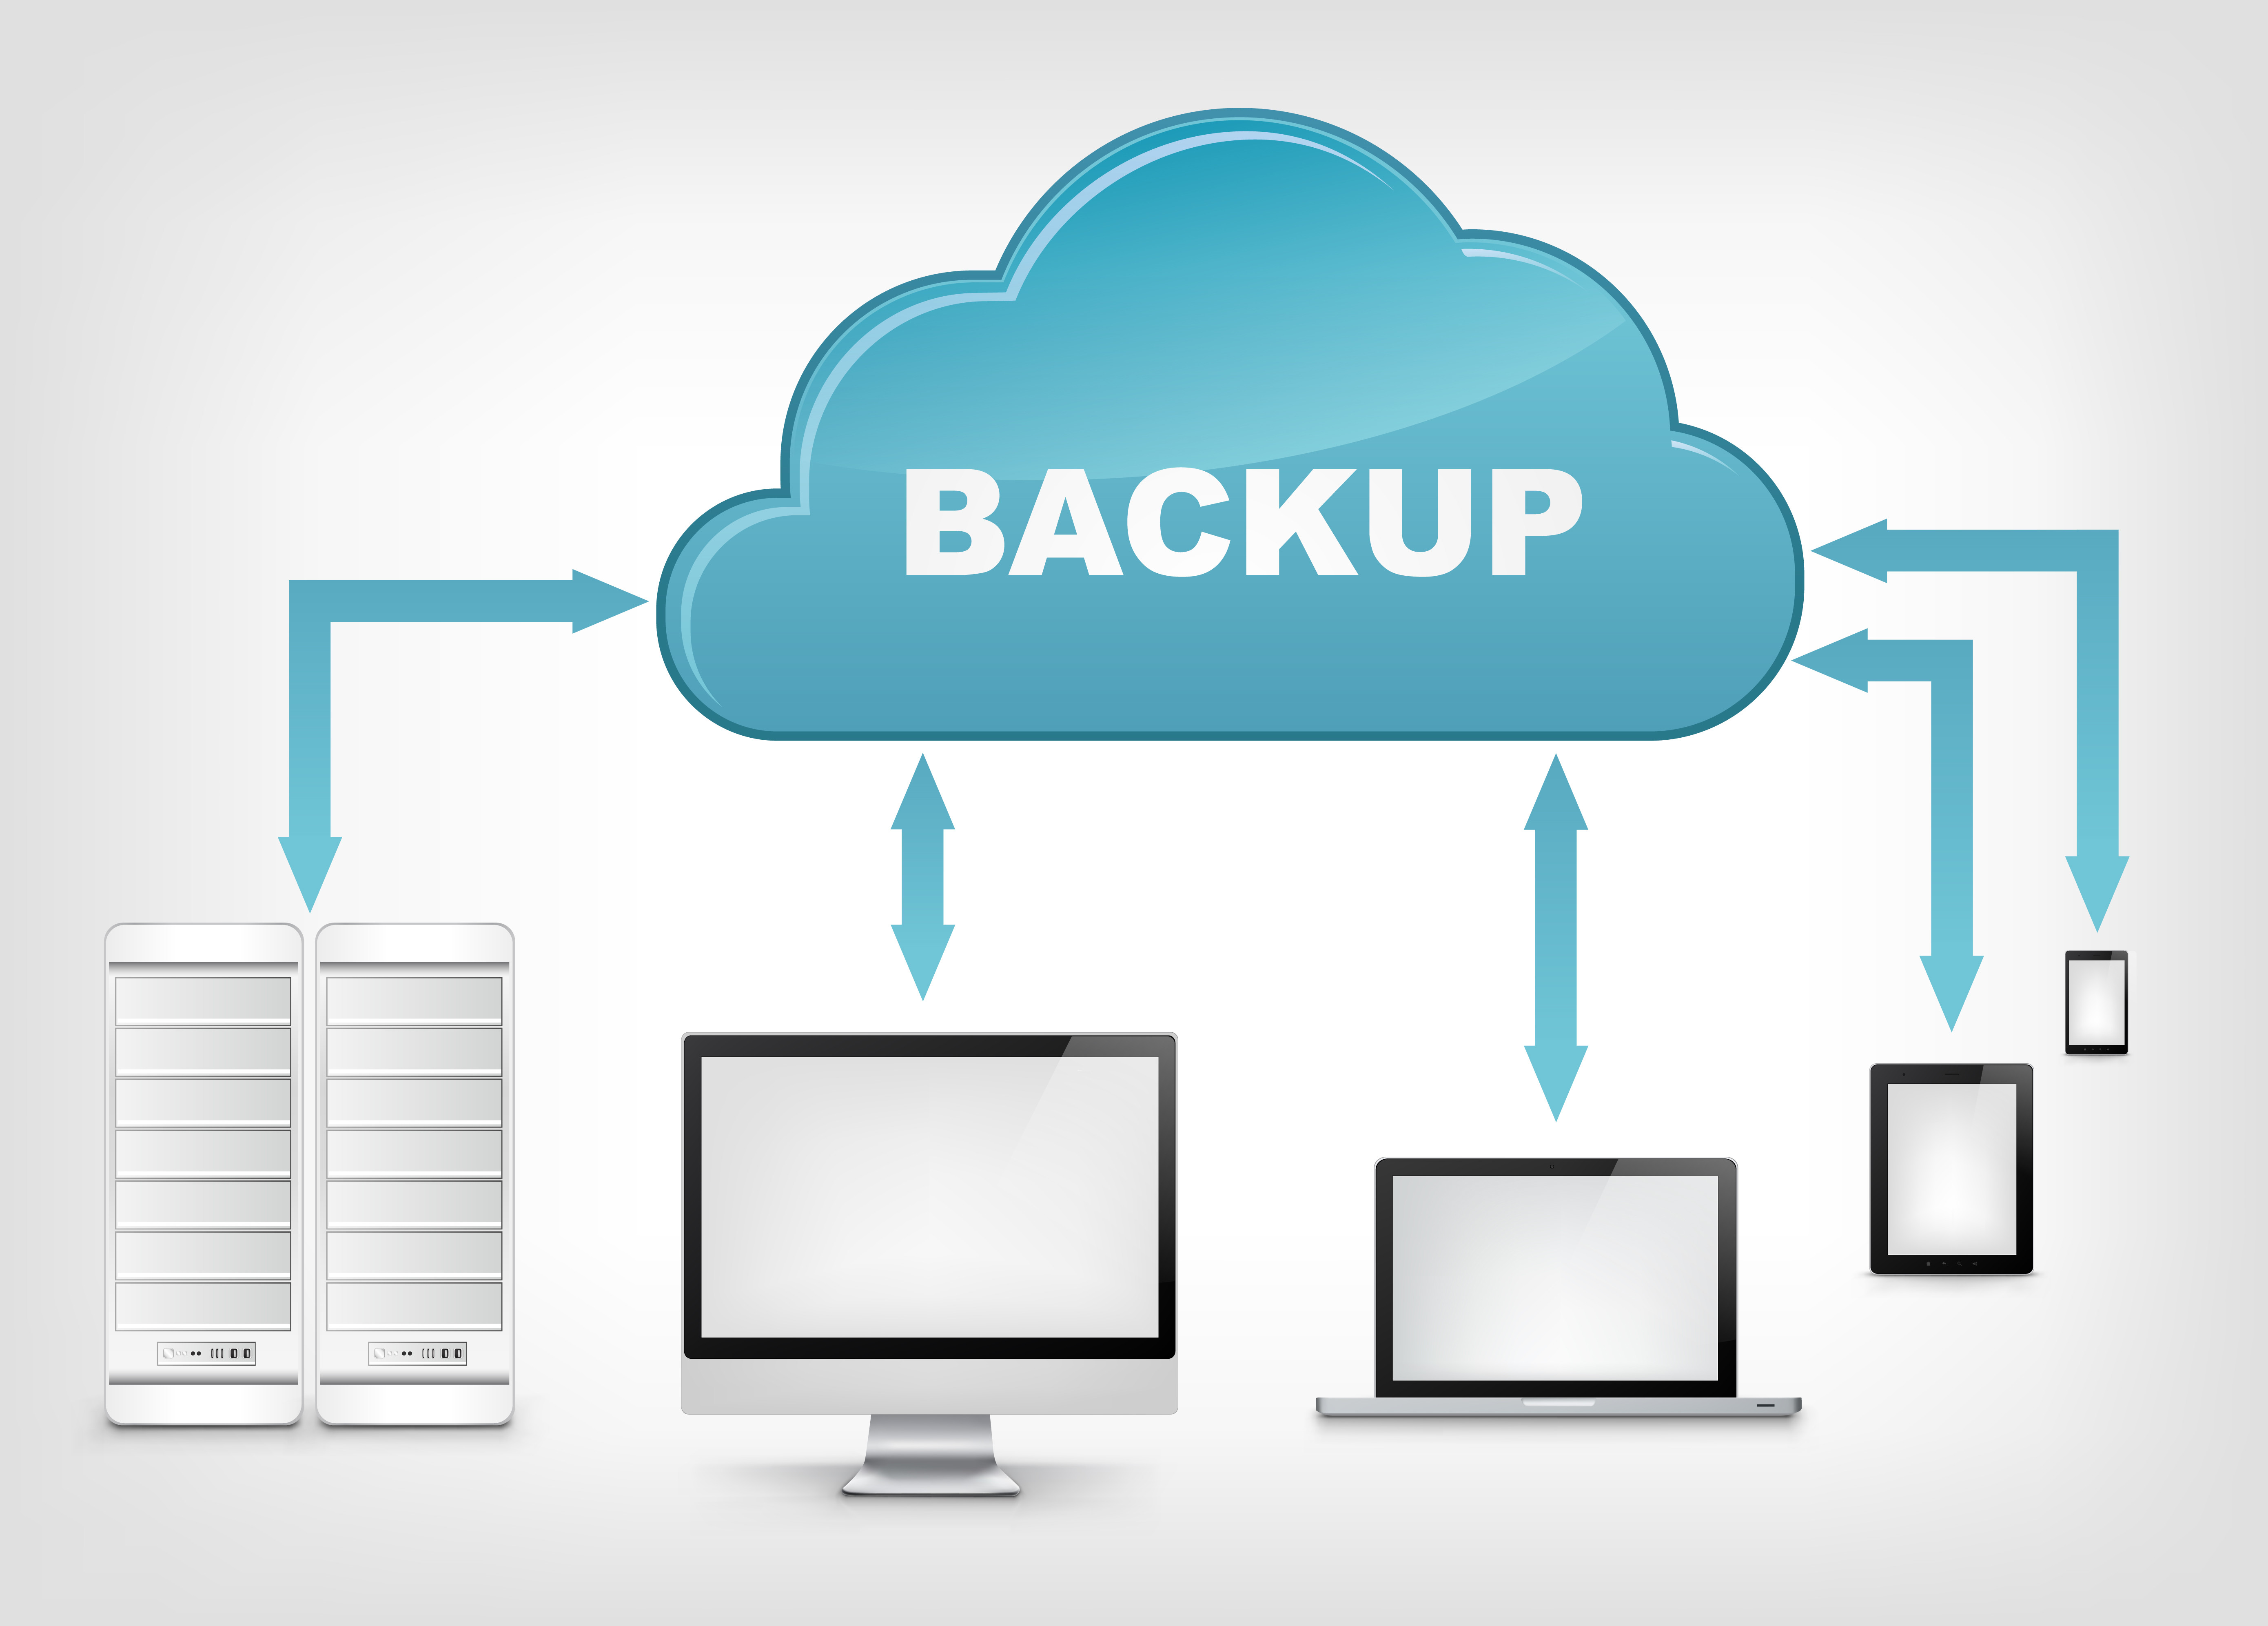
Regularly making copies of your iPhone's contents is super important for keeping your pictures, videos, and other bits of information protected. It can feel a bit confusing sometimes, depending on what devices you use, but honestly, it's not that hard. Using iTunes to backup your iPhone is a truly great way to add to your automatic iCloud backups, or it can even be your main way to do things if that's what you prefer. Let's walk through how to do this, step by step, so you can feel more at ease about your digital memories.
Table of Contents
- Why Local Backups Are a Great Idea
- When to Make a Copy of Your iPhone
- What You'll Need to Get Started
- Backing Up Your iPhone to iTunes on Windows or Older Macs
- Backing Up Your iPhone to Finder on macOS Catalina or Newer
- Local vs. iCloud: Which is Best for You?
- What Gets Saved in an iTunes or Finder Backup?
- Troubleshooting Common Backup Issues
- Frequently Asked Questions About iPhone Backups
- Your Data Is Safe Now
Why Local Backups Are a Great Idea
You might be wondering, "Why bother with a computer backup when iCloud is just there?" Well, as a matter of fact, local iTunes backups are often more complete and quicker to get back onto your device than iCloud backups. This is because they save more kinds of data. For instance, things like your Health app data, Keychain passwords, and Wi-Fi settings are only included if you choose to encrypt your local backup, which is a pretty good reason to do it. It's almost like having a deeper, more personal copy of your phone.
While iCloud offers a convenient wireless backup solution, putting your iPhone's contents onto a computer using iTunes (or Finder on more current Mac computers) provides a more secure way to do it. This is because your data stays right there on your own machine, not on a server somewhere in the cloud. It's a bit like keeping your most important papers in a safe at home rather than in a shared storage unit, so to speak. This gives many people a lot more peace of mind, you know.
Regularly making copies of your iPhone is important for protecting your photos, videos, and other information. It can be a little tricky depending on which devices you use, but the benefits are huge. Using iTunes to backup your iPhone is a truly great way to add to your automatic iCloud backups, or it can be your main way if you’d like. It just offers a different kind of security and speed, which can be really helpful if you ever need to restore your device quickly.
When to Make a Copy of Your iPhone
So, when should you actually make one of these local copies? Well, iTunes automatically backs up your device when you connect it to your computer, which is pretty handy. But you can also back up your device manually at any time, which is what we'll focus on here. This is especially useful before big changes.
For instance, it's a very good idea to make a fresh backup before updating your iOS version. New software can sometimes have unexpected quirks, and having a recent copy means you can always go back if something goes wrong. Similarly, if you're planning to reset your iPhone, get a new one, or even just troubleshoot a problem, a fresh backup is your best friend. It gives you a safe point to return to, you see, should anything go sideways.
Also, just generally speaking, a regular schedule for backing up is a smart move. Maybe once a week, or once a month, depending on how much new information you add to your phone. It's like checking the oil in your car; a little bit of upkeep can prevent bigger issues down the road. This way, you're always prepared, and your important stuff is always protected, more or less.
What You'll Need to Get Started
Before you jump into backing up your iPhone, you'll need a few things. First off, you'll need your iPhone itself, obviously. Then, you'll need a computer, whether it's a Mac or a Windows PC. Make sure it has enough free storage space for the backup, as these can be quite large, depending on how much stuff is on your phone. You know, some people have thousands of photos.
You'll also need a USB cable to connect your iPhone to your computer. The cable that came with your phone usually works best, but any good quality MFi-certified cable should do the trick. It's important to have a reliable connection, so a faulty cable could cause problems, and you definitely don't want that. So, check your cable, basically.
Finally, you'll need the right software. If you're on a Windows computer, or an older Mac running macOS Mojave or earlier, you'll need iTunes installed. If you're on a newer Mac running macOS Catalina or later, you'll be using Finder instead of iTunes. The steps to back up your iPhone are almost the same with either, but the application you open is different. It's just a little detail to keep in mind, really.
Backing Up Your iPhone to iTunes on Windows or Older Macs
For those using a Windows computer or a Mac that hasn't made the jump to macOS Catalina or later, iTunes is your go-to application for keeping your iPhone's contents safe. This method has been around for quite a while and is still a very solid choice for many users. It's a pretty straightforward process once you know where to look, you know.
Step 1: Connect Your iPhone
First things first, get your iPhone and your computer together. Connect your iPhone to your computer with a cable. Make sure the connection is firm and that your computer recognizes the device. You might see a pop-up on your iPhone asking if you trust this computer; if you do, tap "Trust" and enter your passcode if prompted. This step is pretty important for the computer to actually see your phone, naturally.
Step 2: Open iTunes
Once your iPhone is connected, open iTunes on your computer. If iTunes doesn't open automatically, find its icon and click on it. You might need to wait a moment for it to load up, especially if you have a lot of music or other media in your library. It's usually a pretty quick process, though, in most cases.
Step 3: Select Your Device
Look for a small iPhone icon near the top left corner of the iTunes window, usually next to the "Library" or "Music" dropdown menu. Click on this icon. This action will take you to your iPhone's summary page within iTunes, where you can see information about your device and manage its settings. This is where all the magic happens, more or less.
Step 4: Start the Manual Backup
On your iPhone's summary page, you'll see a section called "Backups." Underneath that, there's a button that says "Back Up Now." Click this button to start the manual backup process. iTunes will then begin copying all the selected data from your iPhone to your computer. A progress bar will appear at the top of the iTunes window, letting you know how things are going. This can take a little while, especially if it's your first time backing up or if you have a lot of stuff on your phone, so just be patient, okay?
Step 5: Consider Encrypting Your Backup
While you're on the summary page, you'll also see an option to "Encrypt iPhone backup." This is a very good idea to check this box. If you have iOS 3.0 or later, iTunes can encrypt your backup. Encrypting your backup means that sensitive data, like your saved passwords, Wi-Fi settings, Health data, and HomeKit information, will be included in the backup. Without encryption, this data is not saved. You'll be asked to create a password for this encrypted backup; make sure it's something you'll remember, but also something secure. This adds an extra layer of protection, which is pretty nice, if you ask me.
Backing Up Your iPhone to Finder on macOS Catalina or Newer
If you're using a Mac with macOS Catalina or any newer version, you won't find iTunes anymore. Instead, Apple has split iTunes' functions into separate apps, and managing your iPhone is now handled directly within Finder. The process is still very similar to how it worked with iTunes, just in a different spot. It's actually quite intuitive once you get the hang of it, you know.
Step 1: Connect Your iPhone (Again)
Just like with iTunes, the very first thing to do is connect your iPhone to your Mac using a suitable cable. Make sure your phone is unlocked and that you respond to any "Trust This Computer" prompts that pop up on its screen. This connection is what allows your Mac to see and interact with your iPhone's contents, so it's a pretty important starting point.
Step 2: Open Finder
Once your iPhone is connected, open Finder on your Mac. You can do this by clicking the Finder icon in your Dock, which looks like a blue and white smiling face. Finder is basically the file manager for your Mac, and it's where you'll find your connected devices now. It's usually already open, but if not, just give it a click, okay?
Step 3: Find Your iPhone Under Locations
In the Finder sidebar, look for your iPhone listed under "Locations." It might appear as "iPhone" or with your device's specific name. Click on your iPhone's name there. This will open a window that looks very much like the old iTunes summary page, showing you details about your phone and options for managing it. This is where you'll find the backup controls, you see.
Step 4: Initiate the Backup
In the main Finder window for your iPhone, you'll spot a "Backups" section. Here, you'll see options related to backing up your device. To start a manual backup, click the "Back Up Now" button. Finder will then begin the process of copying your iPhone's data to your Mac. A progress indicator will show you how far along it is. This can take a little bit of time, especially if your phone is full of memories and apps, so just let it do its thing, basically.
Step 5: Think About Encryption
Just like with iTunes, Finder also gives you the option to encrypt your iPhone backup. There will be a checkbox that says "Encrypt local backup." Checking this box is highly recommended, as it ensures that sensitive information like your Health data, passwords, and Wi-Fi settings are included in the backup. You'll be asked to set a password for this encrypted backup. Pick a password you won't forget, but one that's also strong enough to keep your information safe. It's a really smart move for overall data protection, in a way.
Local vs. iCloud: Which is Best for You?
You might be wondering which backup method is truly best for you: local backups to your computer (via iTunes or Finder) or iCloud backups. Both have their good points, and honestly, using both can give you the most complete protection for your information. It's not really an either/or situation, more often than not.
Local iTunes backups are more complete and faster to restore than iCloud backups. This is because they save almost everything on your device, including things like app data, photos, videos, messages, device settings, and even some sensitive information if you encrypt the backup. When you need to get your phone back to normal, restoring from a local backup can be quite a bit quicker because the data is right there on your computer, not being downloaded over the internet. This can be a huge time-saver if you're in a hurry, you know.
While iCloud offers a convenient wireless backup solution, backing up your iPhone to a computer using iTunes (or Finder on newer Macs) provides a more secure method for some people. With iCloud, your data is stored on Apple's servers, which is generally very safe, but some folks prefer to have their data physically on their own machine. It's a matter of personal preference and what makes you feel most comfortable. Plus, iCloud backups depend on your internet speed, which can make them slower to restore if your connection isn't super fast.
Using iTunes to backup your iPhone is a great way to supplement your automatic iCloud backups, or it can be used as your primary method if you’d like. For instance, you could use iCloud for daily, quick backups of essential data, and then do a more thorough, encrypted local backup once a week or before a major iOS update. This gives you multiple layers of safety, which is pretty smart when it comes to your valuable digital stuff. It's about having options, basically.
What Gets Saved in an iTunes or Finder Backup?
When you back up your iPhone to iTunes or Finder, a lot of your device's information gets copied over to your computer. This includes most of your device settings, app data, photos and videos (unless they're already synced to iCloud Photos), messages, call history, and more. It's a pretty extensive copy, arguably.
However, there are some things that are typically not included in a standard, unencrypted backup. This includes your Face ID or Touch ID settings, Apple Pay information, and some health data. This is why encrypting your backup is so highly recommended. If you have iOS 3.0 or later, iTunes can encrypt your backup, and Finder does the same. When you encrypt your backup, it includes sensitive data like your Health app data, Keychain passwords (which store your Wi-Fi passwords and other login details), and HomeKit settings. This makes the local backup truly comprehensive, which is pretty cool.
It's also worth noting that content from the iTunes and App Stores, or PDFs downloaded directly to Apple Books, are not included in the backup. Instead, they are typically re-downloaded from the respective stores when you restore your device. This saves space in the backup file itself. So, while it's very thorough, it's not a literal byte-for-byte copy of every single thing, you know.
Understanding what gets saved can help you decide if an encrypted local backup is right for you. For most people, having that extra layer of data included, especially passwords and health information, is a big plus. It means less setup time if you ever need to restore your device from scratch, which is always a good thing. It just makes life a little easier, really.
Troubleshooting Common Backup Issues
Sometimes, things don't go exactly as planned, and you might run into a hiccup while trying to back up your iPhone. Don't worry, these issues are often pretty easy to sort out. It's almost always something simple, you know.
One common problem is the computer not recognizing the iPhone. If this happens, first, try a different USB port on your computer. Sometimes a port can be a bit finicky. Also, try a different USB cable, as cables can wear out or become damaged over time. Make sure your iPhone is unlocked and you've tapped "Trust This Computer" if prompted. Restarting both your iPhone and your computer can also work wonders, as it often clears up temporary software glitches. It's like giving everything a fresh start, basically.
Another issue might be insufficient storage space on your computer. iPhone backups can take up a lot of room, especially if you have a lot of photos and videos. If you see an error message about not enough space, you'll need to clear some room on your computer's hard drive. You could delete old files, move some data to an external drive, or even delete older, unneeded iPhone backups if you have any. Just check your storage settings to see how much room you have, okay?
Sometimes, antivirus software or firewalls can interfere with the backup process. If you're having persistent problems, you might try temporarily disabling your antivirus or firewall to see if that resolves the issue. Just remember to turn them back on once your backup is complete for security reasons. Also, make sure your iTunes or Finder software is up to date, as older versions might have bugs that have since been fixed. Keeping your software current is always a good practice, you know, for pretty much everything.
If you encounter an error message during the backup, write it down exactly. Searching for that specific error message online can often lead you directly to a solution. Apple's support pages are a great resource for this kind of thing. And if all else fails, trying the backup on a different computer, if possible, can help determine if the problem is with your iPhone or your computer setup. It's just a process of elimination, really, to figure out what's going on.
Frequently Asked Questions About iPhone Backups
Is it better to back up iPhone to iCloud or iTunes?
Neither one is strictly "better" for everyone; it really depends on what you need. Local backups to iTunes or Finder are generally more complete and can be faster to restore, especially if you encrypt them. They also give you direct control over where your data is stored. iCloud backups are super convenient because they happen wirelessly and automatically, but they might not include everything, and restoring can take longer if your internet isn't fast. Many people find that using both methods offers the best of both worlds, so you have options, you know.
Where are iTunes backups stored on my computer?
On a Windows PC, iTunes backups are usually found in a folder within your user profile, typically under `\Users\(username)\AppData\Roaming\Apple Computer\MobileSync\Backup\`. On a Mac, they're usually in `~/Library/Application Support/MobileSync/Backup/`. The tilde (~) represents your Home folder. You shouldn't try to move or rename these backup folders yourself, as that can break them. It's better to let iTunes or Finder manage them, honestly.
Can I back up my iPhone to iTunes without Wi-Fi?
Yes, absolutely! Backing up your iPhone to iTunes or Finder on your computer uses a physical USB cable connection, so it doesn't need Wi-Fi at all. This is one of the big advantages of local backups, especially if you have a slow or unreliable internet connection, or if you're somewhere without Wi-Fi access. It's a direct connection, so Wi-Fi isn't part of the equation, which is pretty convenient, actually.
Your Data Is Safe Now
Taking the time to understand how to backup iPhone to iTunes, or to Finder on a newer Mac, is a truly worthwhile effort. It gives you a strong sense of security, knowing that your personal information, those cherished memories, and all your important settings are safely stored away. Remember, regularly backing up your iPhone is important for protecting your photos, videos, and other data, and it's a very simple habit to get into, you know.
Whether you choose to use local backups as your main method or as a helpful addition to your iCloud routine, the peace of mind you get from having a complete, accessible copy of your device is pretty much priceless. It allows you to recover quickly from any problems you might encounter over the life of the phone, and that's a big deal. So, why not make a backup today? You'll be glad you did, honestly. For more tips on keeping your Apple devices running smoothly, learn more about iPhone maintenance on our site, and you might also want to check out this page for data recovery tips.
For additional details on managing your Apple devices, you can always visit the official Apple Support website.